
These Photoshop tips cover each space of Photoshop CC’s tremendous photo-altering abilities, from raw handling to correcting, from layers to luminance. They are a combination of video walkthroughs, image altering models, and quick-fire tips, alternate routes, and modifier keys to make your Photoshop altering as quick, practical, and valuable as could be expected.
We’ve separated our tips into areas so you can leap to the information you’re generally intrigued by straight away, or you can use parchment or swipe down this article to see all our Photoshop tips.
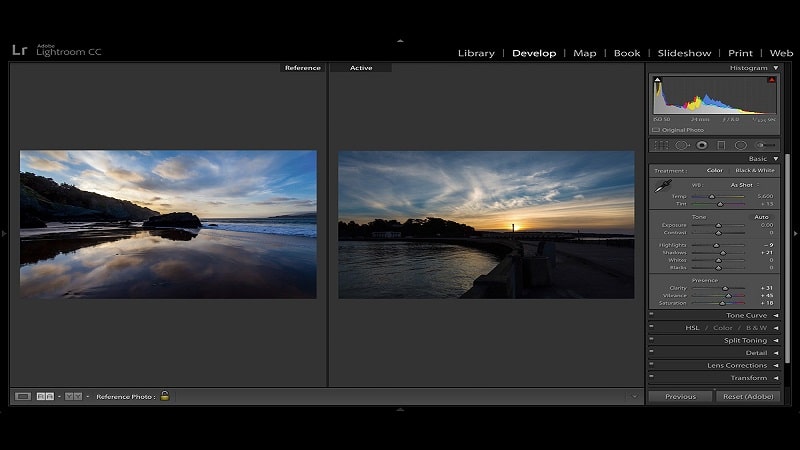
Now and then, menus catch and exchange alternatives can be tiny and difficult to make out, particularly on a bit of presentation – however you can tap on the gadget in the upper right-hand corner of these images to focus on a bigger variant.
We trust you to discover these Photoshop tips. We’ve kept them short, sharp, and forthright – so how about we get moving!
Step By Step Instructions To Get Photoshop

On another way, you don’t yet have Photoshop, yet you’d prefer to give it a shot to perceive what all the quarrel is about. Then, you can get a 7-day preliminary form of the Adobe Creative Cloud Photography Plan. Follow the connection beneath to discover more about Adobe’s product memberships.
How the Adobe Photography Plans work
On the off chance that you need to buy into an arrangement or download the preliminary variant, you can pick any of the choices on the board underneath. Note; bookmark this page about Photoshop tips to learn or apply techniques next time.
1. Expedient skin relaxing with Texture
The new Texture change in Camera Raw or Lightroom does some fantastic things over the skin. First, snatch the Adjustment Brush and dial in a negative worth, then, at that point, paint over skin for a pleasant mellowing impact that holds the skin’s surface while streamlining any flaws and difficult situations.
2. Lift skin tones rapidly
Frequently skin tones will profit with a delicate lift to the luminance of the red, yellow, or orange shading range. A straightforward method you can use to do this is with the Targeted Adjustment apparatus in Camera Raw. First, snatch the gadget, right-click and pick luminance, then, at that point, drag upwards somewhat over the subject’s skin to lift it.
3. Create a contact sheet
A contact sheet can be a fast and straightforward approach to show a bunch of photos on a solitary print or image record:
- Open Bridge and cmd/ctrl-snap to choose your photos.
- At that point, go to Tools > Photoshop > Contact Sheet iII.
- Use Thumbnail to control the number of images on each sheet.
4. Upgrade large scale surfaces easily
The Texture order in Camera Raw and Lightroom will boost the sharp subtleties in full-scale photos. It is down to how it focuses on a narrow band of mid-recurrence detail without influencing high or low frequencies. Furthermore, it implies it doesn’t affect the airy spaces of the image or enhance commotion: just the in-center fresh information is improved.
5. Make complex to-save-over templates
You will get benefits if you get templates to use again and again, for example, this short three-image page template. The issue is, you may coincidentally save over the template in the wake of altering it, delivering it futile. Be that as it may, if after saving the template as a PSD. You add ‘to the furthest limit of the document name (so it peruses PSD). Photoshop will consistently open another ‘untitled’ record rather than the first document, which means there’s no possibility of unintentionally saving over it.
6. Add punch with B&W and a mixed-mode
A Black and white change layer can assist with adding punch to your shading photos. Set the Blending mode to delicate light and haziness to around 20-half. For picture images, take a stab at tweaking the red and yellow sliders to calibrate the vibe of the skin. Note; bookmark this page about Photoshop tips to learn or apply techniques next time.
7. Expel any item to 3D
You can transform any basic flat shape or path into a 3D item by 3D > new3D expulsion. Once done, you can utilize the 3D board to add materials to the thing, rotate the view, add lighting, and considerably more. Note; bookmark this page about Photoshop tips to learn or apply techniques next time.
8. Mess around wIth evenness painting
This great feature is phenomenal for drawing patterns and energizing shapes. First, snatch the Brush apparatus, then, at that point, click the butterfly symbol in the instrument alternatives at the top to browse diverse, even canvas choices. Note; bookmark this page about Photoshop tips to learn or apply techniques next time. Then, at that point, begin painting — have a go at changing the brush tip settings in the Brush board for fascinating scatter impacts.
9. Save tIme with Select Subject
This efficient instrument examines your image and attempts to choose the subject for you. Once in a while, does it make an excellent showing? However, that’s not the point. Difficult choices are usually a few-stage cycle, and this kicks you off rapidly. Note; bookmark this page about Photoshop tips to learn or apply techniques next time. You would then be able to proceed to work on the mighty Select and Mask order outcomes.
10 Have Lightroom select your best photos
Lightroom for the web has a captivating Best photos button that utilizes AI to break down many photos and pick the best one for you. A slider to the upper right of the interface makes the order pretty much requesting in selecting the top choices. Be that as it may, as an AI apparatus, it’s shockingly (or scarily) ready with its decisions.
Clipping Path Benefits At Clipping Path Specialist

Since most circulating programming oversees everything far eliminated from cutting, this is significant for visual organizers. It is because it works for them. They can throw photographs of your thing into another image without dealing with a white background. Starting from here, it permits the substance to conflict with the primary thing.
Take a look at Clipping path specialists to provide services:
- Clipping path
- Clipping path service
- Background removal
- Image masking
- Drop shadow
- Ghost mannequin
I need to say that this is in opposition to the limitations of your rectangular image. However, in case you mean to keep some print material, the partway is generously more fundamental. It remembers photographs of your things for a magazine and rundown. Moreover, a single picture results from various courses in the photograph business for different things with colors. Note; bookmark this page about Photoshop tips to learn or apply techniques next time.
Read more: Tips and Tricks to Choose Right Color of Flower to Gift