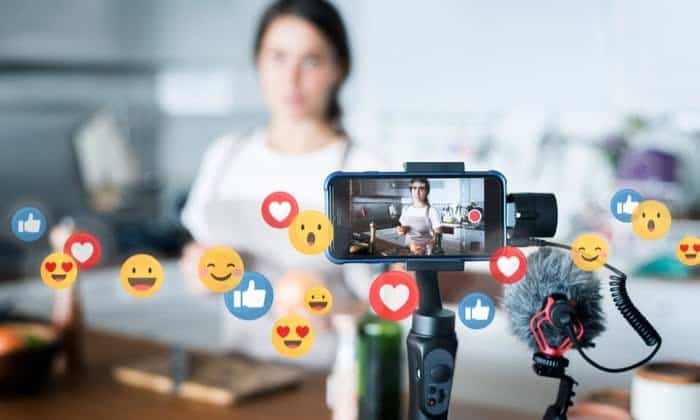
Live streaming can be a fun and rewarding experience, however, it is much more than simply going online and talking in front of an audience whenever you feel like it. There is a lot of planning and preparation that goes behind every successful live stream.
Here is a checklist of seven important things to cross off your list before going on a live stream:
1. Plan out your stream
In order to produce entertaining content on a live stream, preplanning the stream is extremely important. Now planning doesn’t mean creating a word for word script, rather it refers to figuring out the larger theme of the stream, preparing a few talking points and visualising a broad flow of the stream.
2. Figure out location, background, and outfit
Choosing an appropriate location and background to shoot the live stream is as important as your outfit. An ideal location would be enough which has ample lighting and least amount of noise. It is also a good idea to clean up the area you’ll be shooting at. Tidy up the background that would be covered in the shot and remove anything around the shooting space that might cause a distraction.
3. Set up your camera, pc or smartphone
Your streaming device is the most important tool for a live streaming session. While it may be easier to stream from a phone, using a camera ensures better video quality. Choose the device of your preference and set it up in advance, fix up your phone or camera on a tripod if you have one and check to ensure that all the angles are right or there are no issues with the video output quality.
4. Set up your audio
To ensure that the audio quality of your live stream is great, opt for an external microphone such as a lavalier mic instead of the inbuilt microphone of whatever device you are using.
5. Check your internet connection and run a test
Not double but triple check your internet connection. Ensure that your internet is not being used for downloading any heavy files. Check if your upload speed is at least twice the speed of your streaming bitrate. In order to avoid bandwidth fluctuation, opt for streaming directly via Ethernet.
Once you’ve planned out your stream, picked out your outfit, chose an optimum location, picked out your outfit and figured out the audio and video situation, it’s time for a quick test run. This will not only help you cross check your internet connection but also set systems in place to deal with anything that could go wrong. Along with keeping a backup ready for everything, also ensure that your batteries are fully charged to reduce the possibility of any technical hiccups.
6. Choose your steaming destination
Which live streaming platform do you want to use? There are several live streaming platforms in India today. Your choice of stream platform should depend on the kind of audience you’re trying to attract. Say you present comical content for millennials and GenZ, then a platform like Instagram Live would be your best bet. Or if you want to offer tutorials, reviews or shopping guides, a live streaming app store such as bringin’ is a great option.
7. Choose your agenda
Even if you have everything set up to the T, a live streaming without an agenda or a goal might not get you the traction you are looking for. Are you doing the live stream to talk on a subject, streaming an event, or are you giving a review? Decide on the reason behind your livestream well in advance to reach the audience right.
If your agenda has something to do with e-commerce, then Bringin’ is one of the best live streaming platforms in India to go for.
Bringin’ brings together the ease of e-commerce along with the experience of physically shopping at the tip of your fingers. With a vast range of pre-created live streamed content and tutorials, bringin’ gives you the opportunity to get first hand information for any product you’re planning to buy. Honest feedback, detailed reviews and exclusive information about the product – you can experience the brand through your favourite creators and industry experts before actually buying a product.


