
One of the questions that we are asked on a regular basis is ‘how are solar panels fitted to the roof?’
We have put this post together to give you an insight into the different types of fitting methods and the step-by-step process of fitting a solar panel to a roof.
There are a few different mounting types that are typically used for fitting solar panels to a domestic property:
Directly onto the roof, where they sit close to the roof tiles to achieve a low-profile appearance and are mounted on to aluminum brackets (a mounting that we recommend and that we will cover below).
Integrated into the roof itself, where the solar panels will directly replace some of the roof tiles (popular with newly build houses).
They are mounted on an A-frame where they can be positioned on a flat roof or in the garden.
The techniques and process of the solar panel installation very much depend on your roof type as all roofs aren’t made the same, but because the typical tiled roof is typically the most popular type, we will demonstrate the installation process on that.
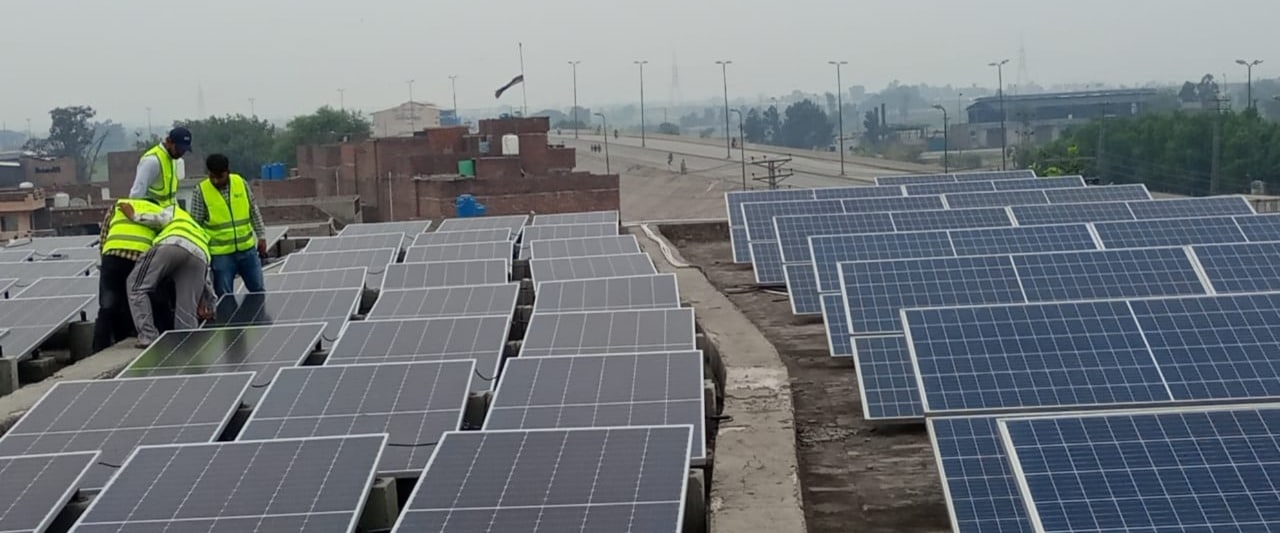
The step-by-step installation process: Solar Panel
Below is the step-by-step installation process of a solar panel installation in Nottingham that was completed for a customer last weekend.
Stage 1
The first stage of the installation process involves carefully removing selected tiles from the roof so that we can locate the roof rafters.
Stage 2
Once the roof rafters have been located, we can then secure roof anchors/brackets that are ideal for this type of roof. This step is repeated until all securing anchors are in place.
Stage 3
The tiles removed in Step 1 are then replaced into their original position. Because there is no need for us to penetrate the tiles in any way during installation means that the integrity of the tile is maintained; therefore remaining watertight.
Stage 4
Aluminum mounting rails on which the solar panels will sit are then secured onto the roof anchors, along with the cable entry which is fully waterproofed to ensure that it is safe and secure.
Stage 5
The solar panels are then safely secured to the aluminum mounting rails until all of the solar panels are fully installed and connected to one another.
Stage 6
The inverter is connected to the panels and installed in a suitable location; in this case, it has been installed in the garage but is sometimes also located in the loft space. The primary job of the inverter is to convert the DC current supplied by the panels to AC current, which can then be used to power everyday household appliances.
The solar panel inverter also stores years of valuable data; this data can then be referred to when checking the system is performing as we would expect.
Nonetheless, solar panels need to be kept clean in order to work at their maximum efficiency. When you notice a decrease in the amount of electricity produced by your solar panels, it is likely due to a build-up of dirt and debris on their surfaces, such as dust, plant sap, lichen, and bird droppings. You can also hire solar panel cleaners to wash your solar panels.
We are “Cellsol Energy” a local, solar company in Lahore, providing residential and commercial solar systems in Pakistan.